How to Calibrate Audio for Gaming Like a Pro
- Dave Hall

- Jun 5, 2025
- 5 min read
In gaming, visuals get a lot of the love, but audio is just as critical to creating an immersive and competitive experience. From tracking enemy footsteps to feeling the depth of an explosion, properly calibrated audio can give you an edge and make your games come alive in ways that standard setups simply cannot.
If you are using headphones or a speaker system and have never taken the time to calibrate your sound for gaming, you are likely missing out. In this guide, I will walk you through the essential steps to tune your audio like a pro, whether you are playing on PC or console.

Step 1 Understand Your Gear and Its Limits
Before diving into calibration, you need to know what you are working with. Are you using headphones or speakers? Both have their pros and cons. Headphones provide precise positional cues and isolation from external noise, which is vital for competitive shooters.
Meanwhile, speakers and soundbars offer a more natural, room filling sound, great for immersive single player games or group gaming sessions.
Not all gaming headsets are created equal. Some budget options have overly boosted bass or harsh highs that can muddy the sound. If you want a reliable baseline for calibration, consider neutral or studio grade headphones that reproduce sound more faithfully.
If you are using speakers, the shape and size of your room play a big role in the audio experience. Hard surfaces reflect sound and can cause echoes or dead spots. Think about soft furnishings, rugs and curtains to absorb or diffuse sound naturally.
Step 2 Adjust In Game Audio Settings
Many games have surprisingly flexible audio options. Take advantage of these to tailor your sound to your setup and environment.
Start with the speaker configuration. Make sure the game knows whether you are using stereo headphones or a surround sound system. Leaving this setting on default can lead to poorly mixed audio or missing positional cues.
Dynamic range settings are important too. Dynamic range controls the difference between the quietest and loudest sounds. In a noisy environment or when using headphones, setting the dynamic range to medium or night mode compresses loud sounds and raises quieter ones. This helps you catch subtle noises like distant footsteps without being overwhelmed by explosions.
Some games offer specific headphone or surround sound profiles. These profiles tweak the sound processing to enhance spatial cues. Experiment with these options to see if any improve your situational awareness.
Finally, don’t overlook subtitles and audio dialogue volume. Clear speech can be critical to following storylines or multiplayer callouts. If explosions and effects are drowning out voices, adjust the balance until dialogue is intelligible.
Step 3 Optimise System Audio Settings
Your operating system or console also affects audio quality. On PC, go into your sound settings and select the correct output device. Make sure your sound card or external DAC is set as the default audio device.
Set the sample rate and bit depth to 48 kilohertz and 24 bits if your hardware supports it. This is the standard for most games and offers a good balance of quality and performance.
Disable any unnecessary audio enhancements or effects in your sound card software unless you specifically want them. Effects like bass boost or virtual surround can sometimes interfere with game audio fidelity and positioning.
On consoles, explore the audio output options. On PlayStation 5, for example, enable 3D audio for headphones in supported games. On Xbox Series X, you can choose between Windows Sonic, Dolby Atmos or DTS Headphone X for virtual surround sound. Choose the option that matches your headset and game support.
Step 4 Fine Tune with Equalisation
Equalisation, or EQ, is a powerful tool for shaping your sound. The goal is to highlight important audio cues like footsteps, gunfire and environmental sounds while controlling booming bass and harsh highs.
Start by reducing very low frequencies around 20 to 80 hertz if explosions or bass sounds feel overwhelming or muddy. Then, gently boost frequencies between 2 and 4 kilohertz. This range carries much of the detail in footsteps and gunfire, helping you pinpoint enemy locations more easily.
You may want to slightly lower frequencies above 10 kilohertz to reduce any harshness or sibilance that can cause fatigue during long sessions.
Avoid large or drastic boosts and cuts. Small changes go a long way and preserve a natural soundstage. Use EQ presets designed for gaming if your software or headset app offers them, but do not hesitate to customise based on what you hear in your favourite titles.
Step 5 Leverage Spatial Audio Technologies
Spatial audio can simulate three dimensional sound, giving you an advantage in locating enemies and increasing immersion.
Windows Sonic is a free option for PC and Xbox that provides decent virtual surround through headphones. Dolby Atmos for Headphones requires a licence but offers a richer and more precise soundstage. DTS Headphone X is another popular technology, particularly for competitive games.
PlayStation 5’s Tempest 3D AudioTech is built into the system and provides impressive positional audio for compatible games without additional costs.
Remember that not all games support these technologies equally. Use them with titles known for strong audio design to get the best results.
Step 6 Test Your Setup and Adjust Accordingly
After making adjustments, put your calibration to the test. Use games with strong audio cues or dedicated sound tests. Titles like Call of Duty Warzone and Rainbow Six Siege have precise positional audio, while Hellblade Senua’s Sacrifice showcases binaural audio.
Listen carefully for clarity, positional accuracy and comfort. If something sounds off, revisit your EQ and in game settings. It may take a few rounds of tweaking before your setup feels just right.
Step 7 Optimise Your Voice Chat Audio
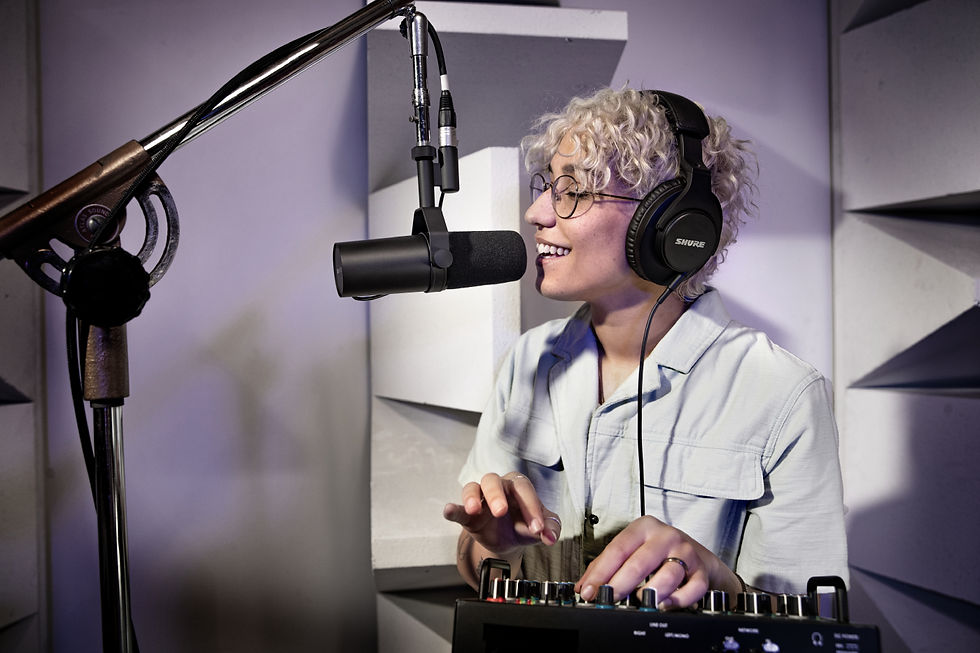
Gaming is social, and clear communication can be the difference between victory and defeat. Use a good quality microphone and position it close to your mouth to reduce background noise.
Disable automatic gain controls if your software allows it for more consistent volume. Use noise gates or filters to minimise unwanted sounds like keyboard clacking or fan noise.
Make sure your voice chat app is set to the correct input device and adjust output volume so you can hear your teammates without sacrificing game audio.
Final Thoughts
Calibrating your gaming audio takes some patience but pays off in spades. When you know exactly where every footstep lands and explosions rumble with impact, you step closer to pro level play and immersive experiences.
Remember that good calibration is personal. Trust your ears, make gradual adjustments and don’t be afraid to experiment with settings for different games and environments.
Gaming sound is as much art as science. Enjoy the process and hear the difference for yourself.
— Dave Hall, Audio & Sound Technology | The Tech Advisor


Comments